It’s no secret that some people can get very serious about vaping. Whether your vaping for personal reasons, or because you’re a hobbyist, at some point you will come across someone who’s building their own coils. But how do you even start doing something like that? Fear not! Atmos has your back. Today we’re going to dive into RDA’s, and what goes into building an atomizer’s coil. Let’s get started, shall we?
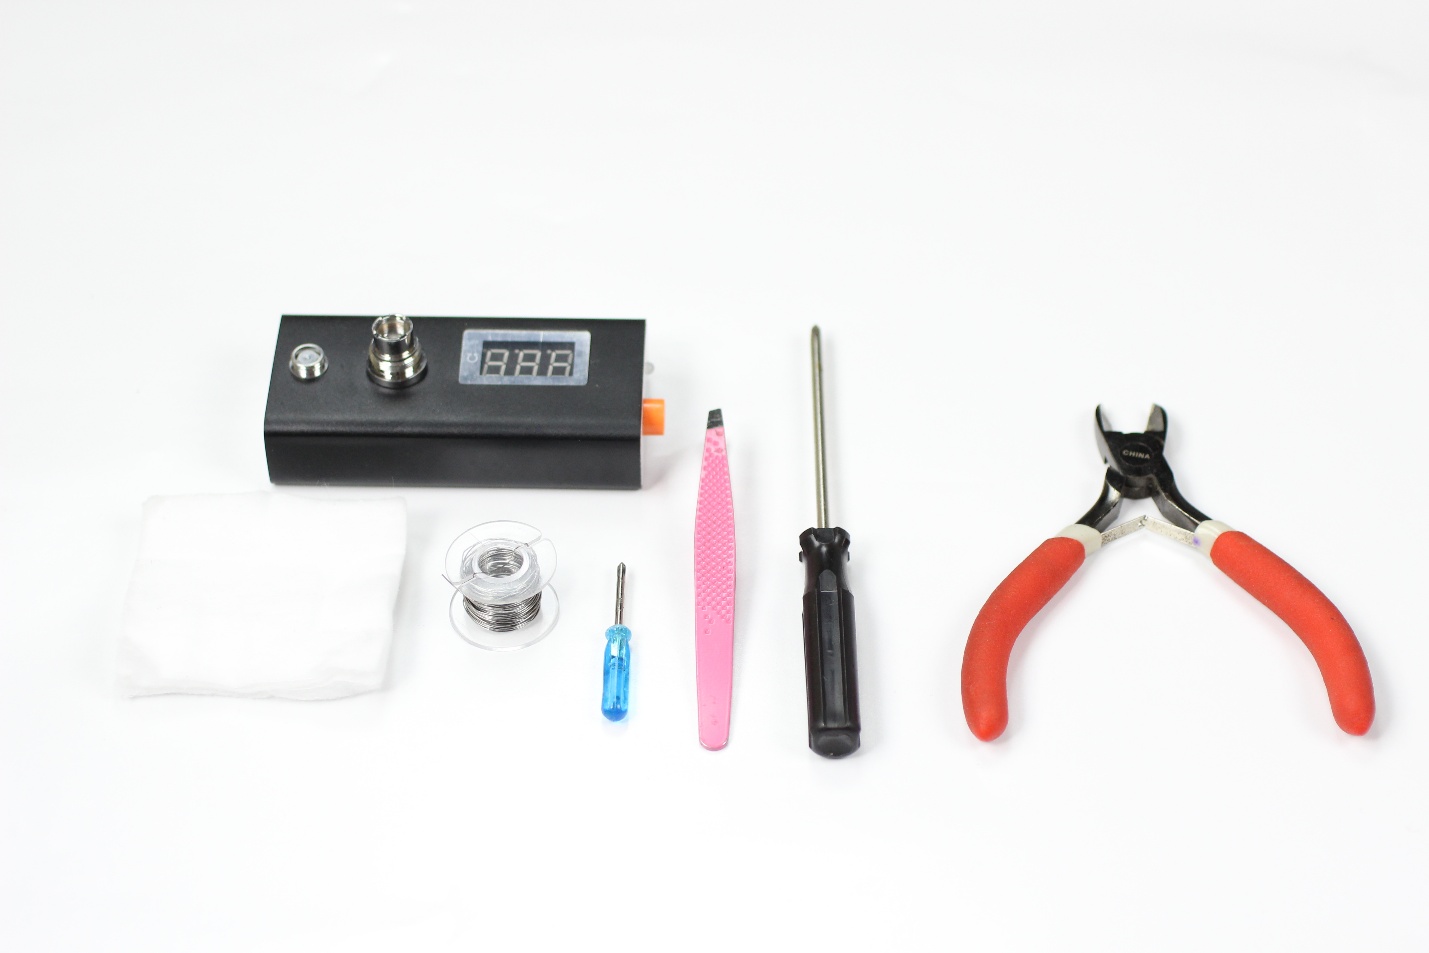
Materials Needed:
- An ohm’s reader
- Your RDA
- Resistance Wire: Kanthal, NiChrome or Titanium
- Small screwdriver or something of equivalent diameter (generally included with RDA)
- Tweezers (Generally these should be ceramic tipped)
- Wire Cutters (Nail Clippers can also work)
- Scissors
- Organic Cotton
- Your Choice E-Liquid
Preparing For Your First Coil
Before attempting to build anything, please be sure that you have an ohms reader and that you have a general understand of ohm’s laws, and your battery specifications.
We have everything we need to get started, so what now? Well, before we begin, we recommend taking a look at your battery’s specifications so you can figure out what resistance to aim for with your coil. This means knowing how man wraps to make when we get down to the grit of it. For help with this process, you should check out one of the many online coil wrapping calculators.
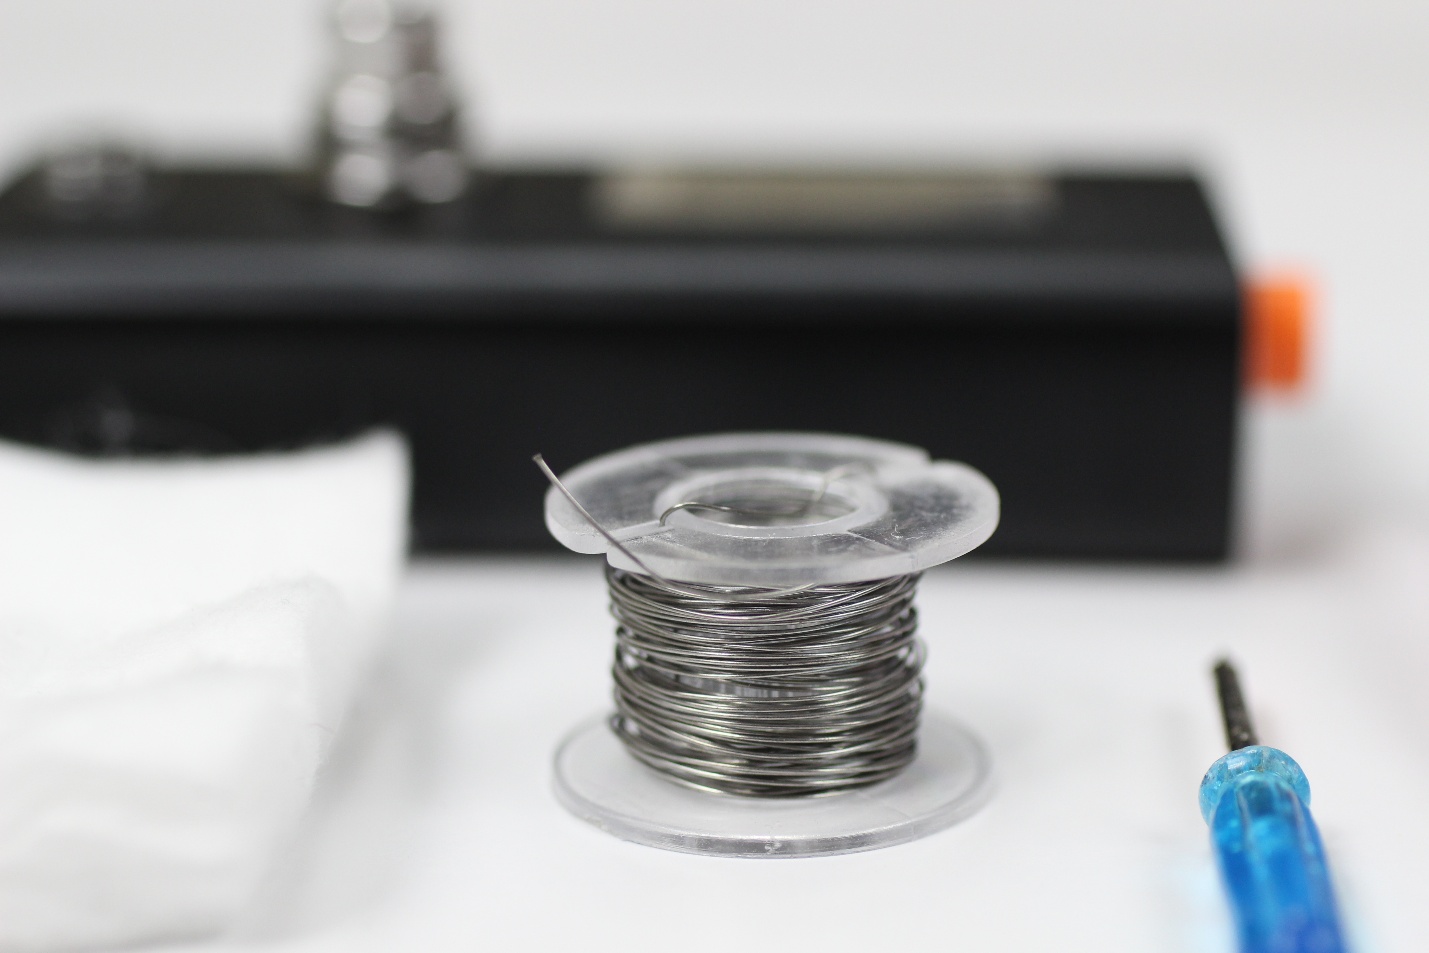
Preparing Your Resistance Wire
For this tutorial, we are using Kanthal resistance wire, so these steps may vary slightly depending on the material you have decided to use. You want to begin by cutting about 5 inches of resistance wire from your roll. Generally speaking, you will only need about 3 inches of wire for any particular build, but 5 inches gives us a little extra to hold onto when wrapping the coil.
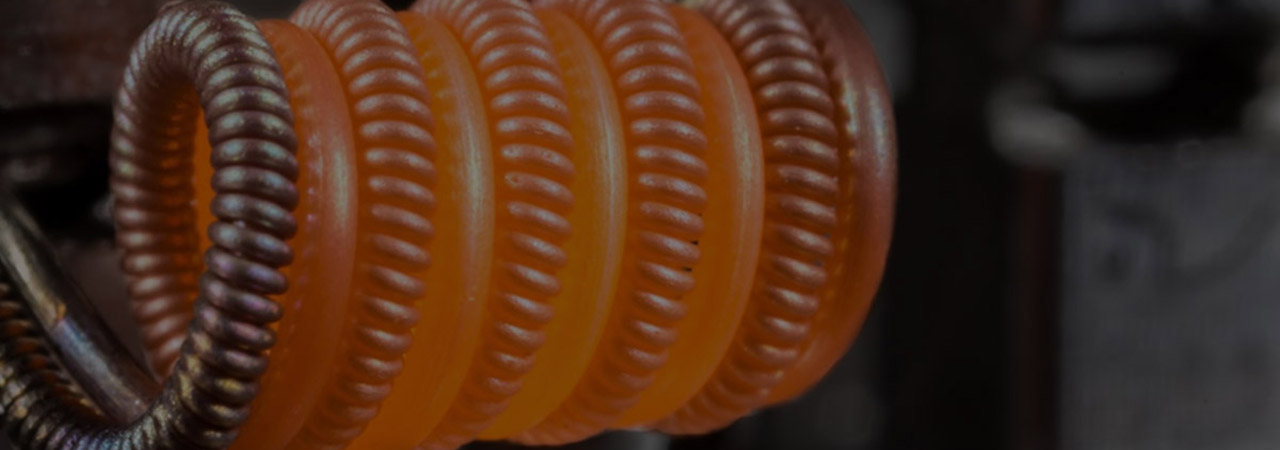
Many builders choose to oxidize their resistance wire. This process requires an extra tool, a small torch. Oxidizing your wire, simply put, is the process of pre-heating the wire until it glows orange. You do this by holding the wire with your tweezers while moving your torch up and down the body of the wiring. This helps make the wiring easier to work with, and more pliable.
Wrapping Your Resistance Wire
This is where our tiny blue screwdrivers come in. To wrap your resistance wire, you will want to begin at the handle of the screwdriver, making your first wrap as close to the handle as possible while holding the end of the wire firmly with your thumb. You then want to start wrapping your wire around the post screwdriver until you reach your target wraps. You want to do your best to keep each wrap as close to the other as possible without overlapping. Each wrap should hug the screwdriver, leaving little to know slack in the resistance wire. Once you’ve finished wrapping, you want to ensure that both ends, or leads, of the resistance wire are facing in the same direction. Don’t remove your coil from the screw driver just yet, we want to leave the coil on it until we finish installing it into our RDA.
Installing Your New Coil
Once you have your coil built, you can install it. To do this you will want to loosen the posts of your RDA until the hole becomes large enough that the leads of your resistance wire can fit into them. Place one lead in the positive post, and another in the negative. You want to position your coils as close to the center of your RDA as possible before tightening the posts around the resistance wire. Once secure, you can remove the screwdriver from the coil.
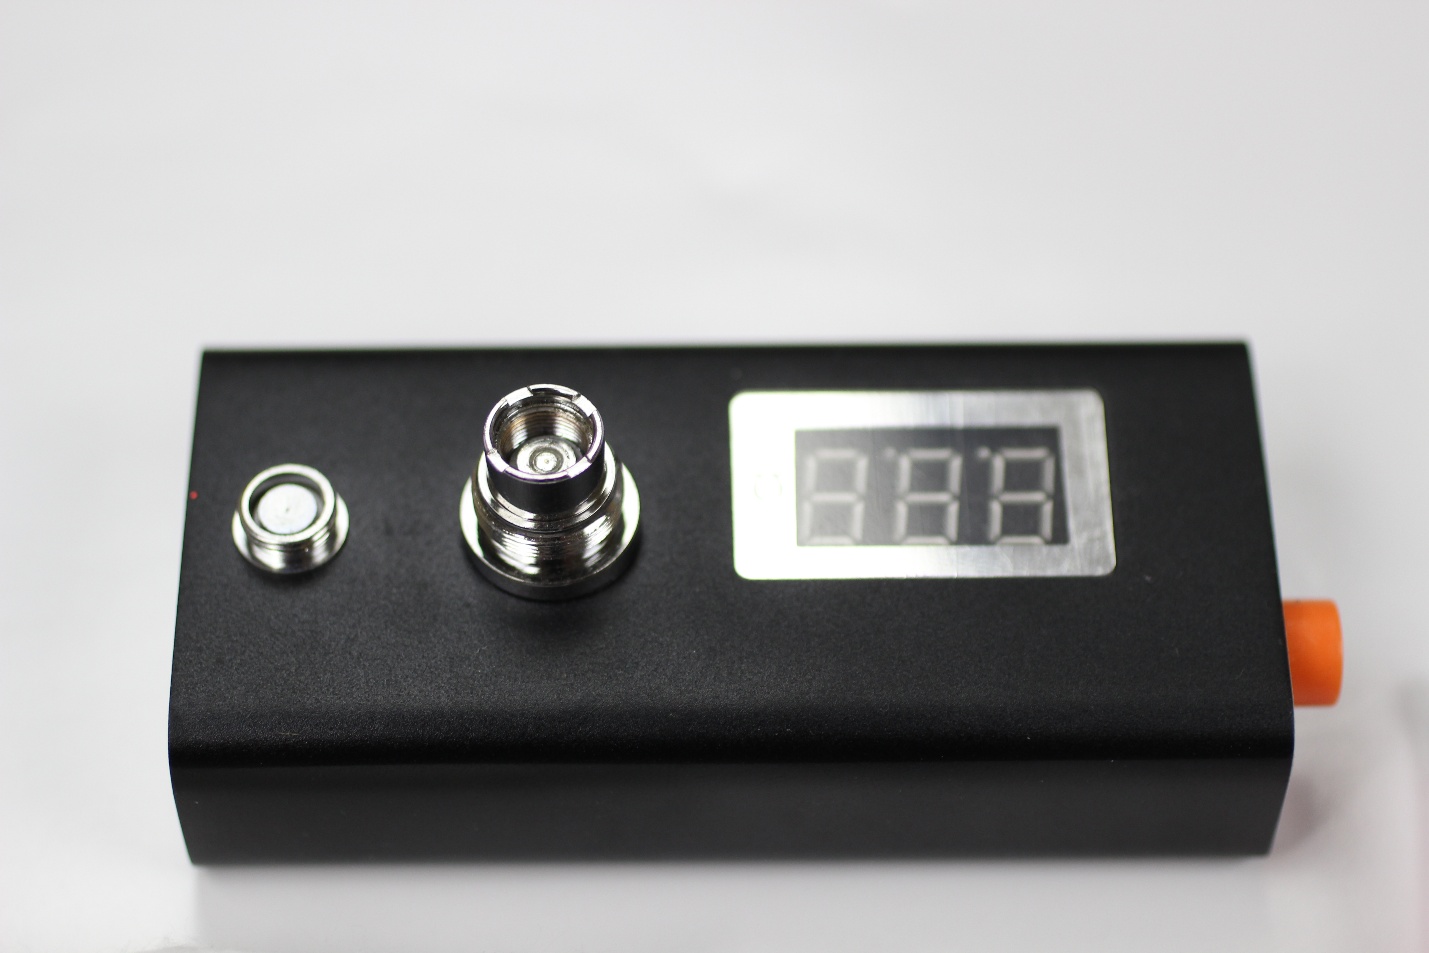
Using Your Ohms Meter
Now we’re going to break out our ohms meter. Before we can actually attach our RDA to our battery, we want to be sure we achieved our resistance goal. This helps us prevent shorts. If you didn’t achieve your target resistance, be sure to double check your posts, as a solid connection is needed to create an accurate reading. Make sure your coils aren’t touching your posts or the deck of the RDA as well. If none of these are the problem, and you still aren’t at your target resistance, you may want to start on a new coil. Otherwise there may be a problem with your atomizer or ohms reader. Remember, it is always better to be safe than sorry. Always double check your coils before attaching them to your battery.
Test Firing and Fine Tuning Your Coil
Once you have tested your coil on your ohms meter, you want to attach your RDA to your battery/mod. Once attached, you want to fire your mod in short burst to until your coil begins to glow. Your goal is to have your coils glow smoothly from the inside out. If you see spots shining brighter than others, than you have found what we call a hot spot. To eliminate these, you will want to lightly press your coils tighter using your tweezers. Do this after heating the coil, not while heating the coil. Keep test firing your battery and tightening your coils until they begin glowing properly.
Adding the Cotton (Wicking)
There are tons of different wicks out there for RDA’s, but by far the most commonly used is organic cotton. This is largely due to the flavor it creates, but in most cases it is easier to wick as well. You want to cut a piece from your cotton that can fit snugly inside your coil leaving about half an inch of cotton on each side of the coil. To get your wick through the coil, try twisting the cotton before inserting it into the coil. Some people even prefer to wet their cotton before trying to wick their coil. If you are having trouble placing your cotton into your coil, you are more than likely using too much cotton. You want it to fit snug without being too packed, as too little cotton may burn quickly destroying the material and producing a burnt taste. Once you have wicked your coil, you can trim the ends to your preference before bending the cotton towards the deck of your RDA. You want your cotton to just barely touch your RDA’s deck. This will allow air to move freely through your RDA, producing better hits than if you over wicked your coil.
Finishing Touches
Once you’ve finished wicking your coil, you will want to quickly go over a few final things as it is very likely that the coil got nudged around during the wicking process. This includes retightening your posts, retesting your RDA on your ohms meter, and test firing your coil with added e-liquid. Once you have gone back over these things and everything is in working order, you are good to go!
Congratulations on building your first coil, and welcome to the world of RDA’s!